A very easy to use piece of software to help you design parts for your Shapeoko router. Considered a CAM (Computer Aided Manufacturing) program, it allows you to design stuff on your stock, apply the toolpaths, then send it to your machine!
The software is bare bones compared to EdgeCAM or HSM, but yet it is very intuitive and easy to use to do just about everything you would want to do with a router on a piece of wood. It also allows you to import DXF’s… That was a huge question from other teachers.
The tutorials below are awesome… short and sweet, and will have you running your machine in no time making stuff.
Just click on the picture below and it will take you to Shapeoko’s website for all of the videos. Choose the topic you want, and watch away… We strongly suggest you watch them all before you get started! Thanks for sharing Shapeoko!
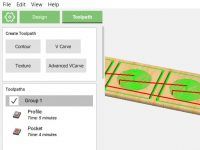
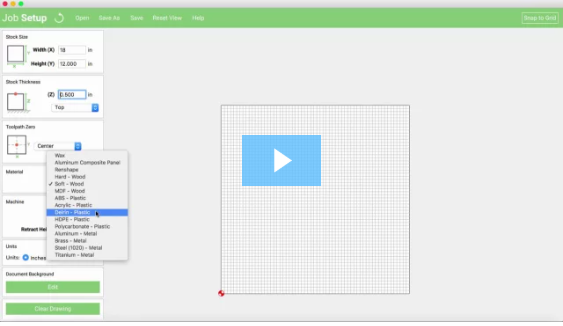
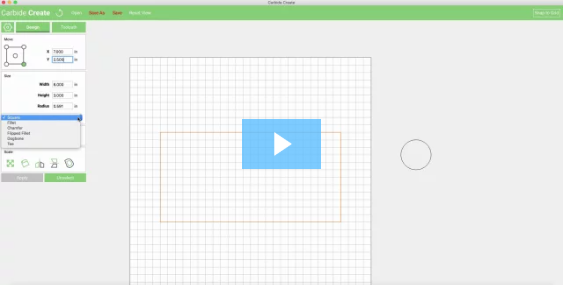
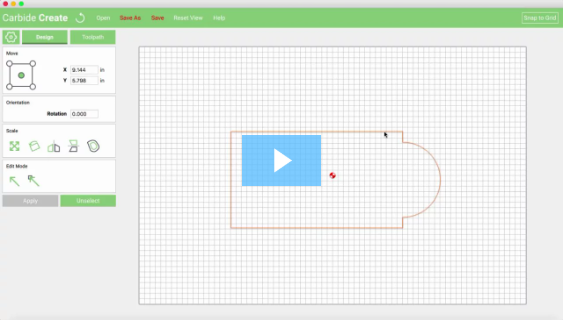
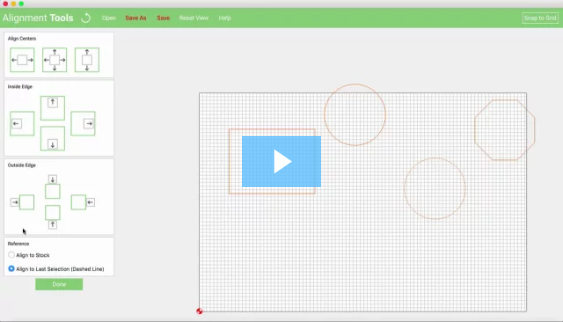
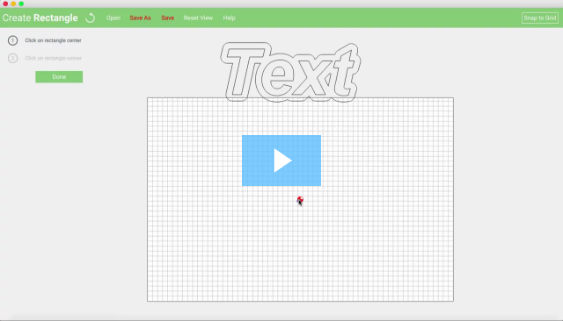
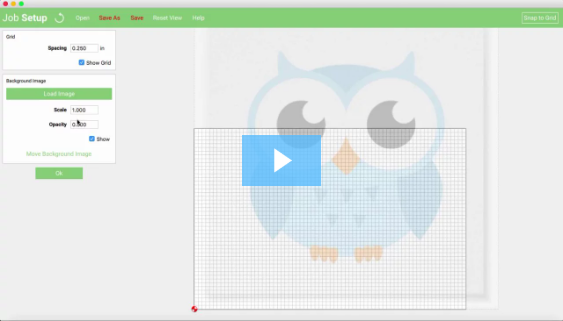
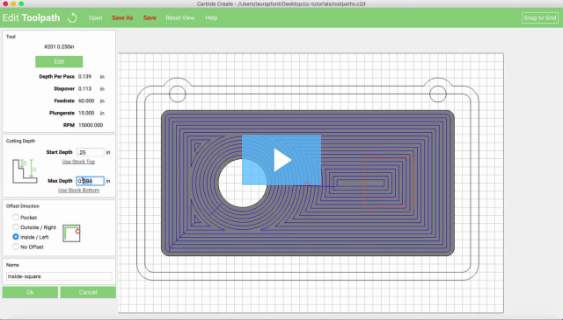
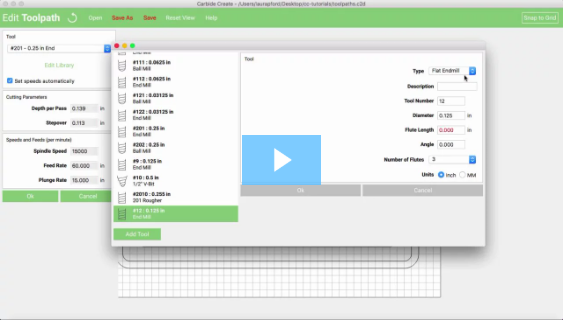
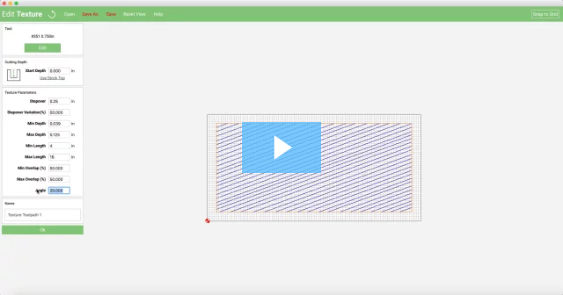
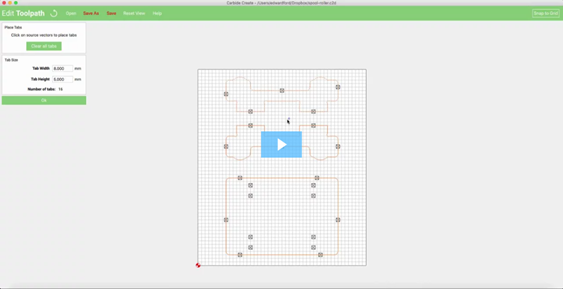
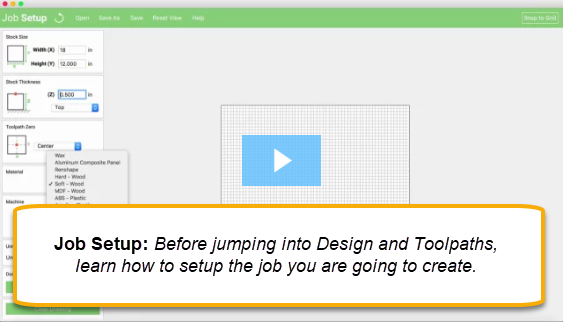
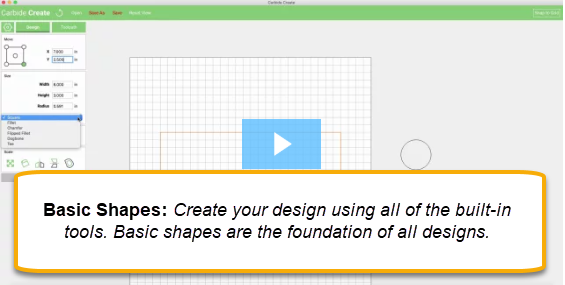
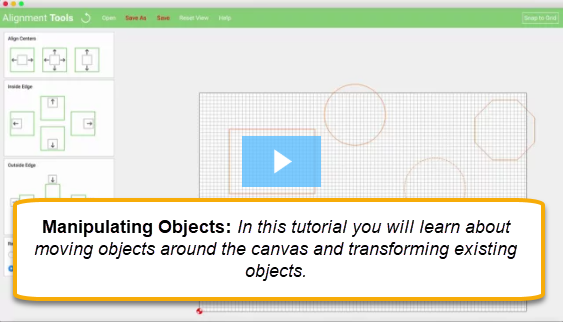
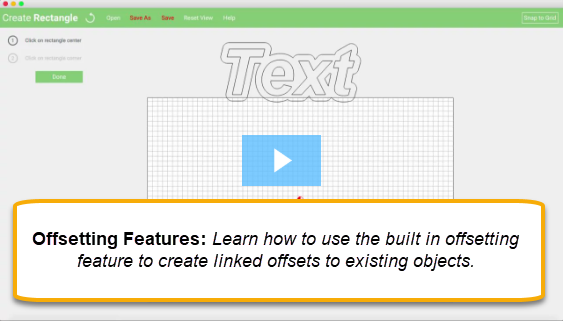
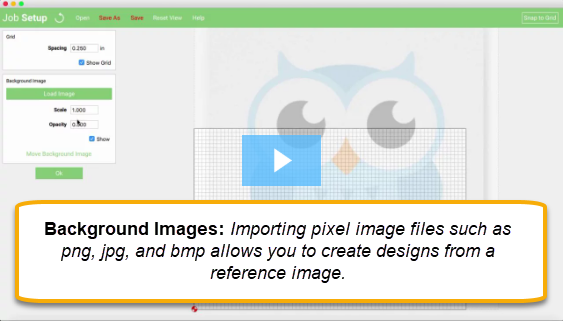
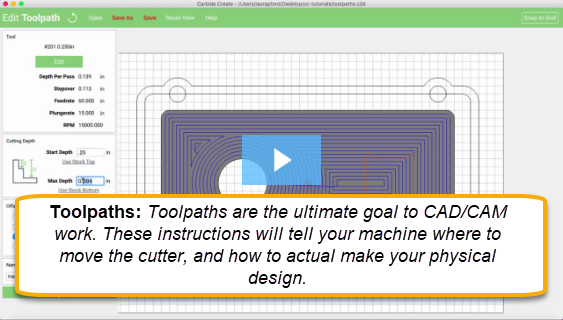
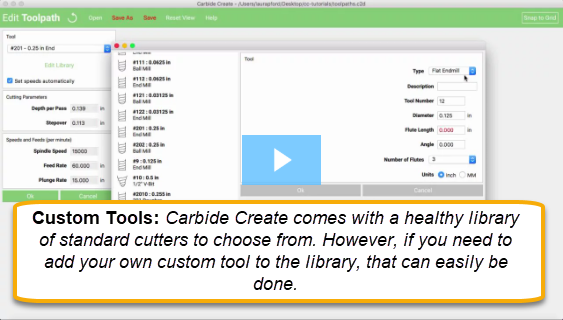
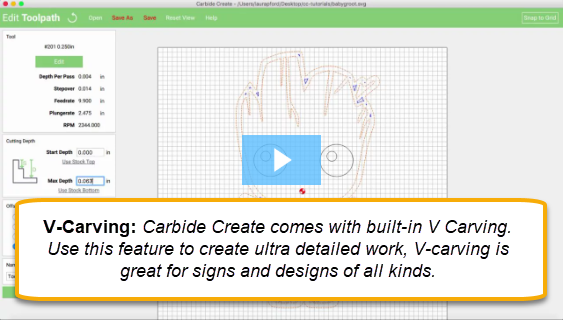
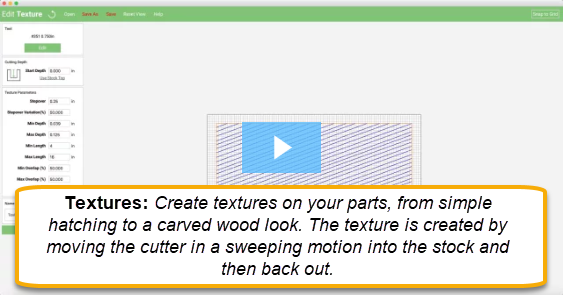
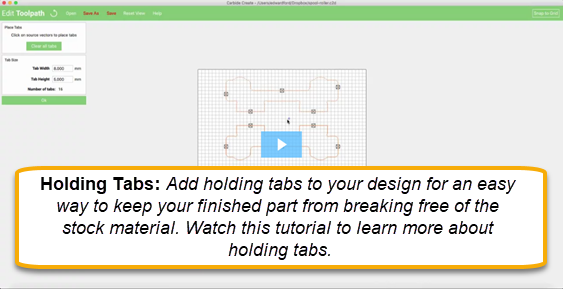
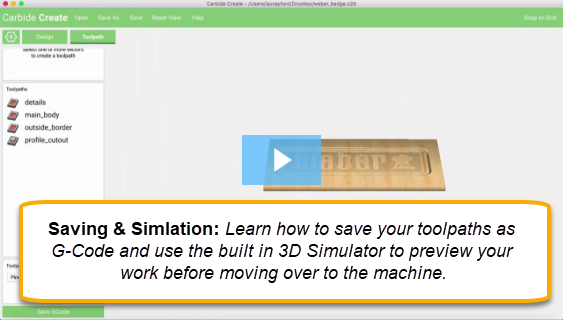
Job Setup: Before jumping into Design and Toolpaths, learn how to setup the job you are going to create.Create your design using all of the built-in tools. Basic shapes are the foundation of all designs. This tutorial explores what basic shapes are and how to use them.Boolean operations help create accurate non-traditional shapes by combining regular shapes. Using Booleans to create combined borders will also help constrain your toolpaths.In this tutorial you will learn about moving objects around the canvas and transforming existing objects.Learn how to use the built in offsetting feature to create linked offsets to existing objects.Importing pixel image files such as png, jpg, and bmp allows you to create designs from a reference image.Toolpaths are the ultimate goal to CAD/CAM work. These instructions will tell your machine where to move the cutter, and how to actual make your physical design.Carbide Create comes with a healthy library of standard cutters to choose from. However, if you need to add your own custom tool to the library, that can easily be done. Follow this tutorial to find out how.Carbide Create comes with built-in V Carving. Use this feature to create ultra detailed work, V-carving is great for signs and designs of all kinds. Watch this tutorial to get started.Texture Toolpaths create textures on your parts, from simple hatching to a carved wood look. The texture is created by moving the cutter in a sweeping motion into the stock and then back out. Like V Carving, this motion gives the finished parts a 3D look without the time required for 3D machining.Add holding tabs to your design for an easy way to keep your finished part from breaking free of the stock material. Watch this tutorial to learn more about holding tabs.Learn how to save your toolpaths as G-Code and use the built in 3D Simulator to preview your work before moving over to the machine.