Project Idea: Dual Lynx To Vex Handshaking Modules

Sorry it took so long, but here is some info on how to make the Dual Handshake Module Jim & I designed two years ago. All files are attached in a zip file at the link below. These files include:
- All inventor part files: tweak to your heart’s content
- STL and Makerbot files
- DXF files for the cover.
- Various pictures to help with assembly
- Materials list
- PDF of this Project

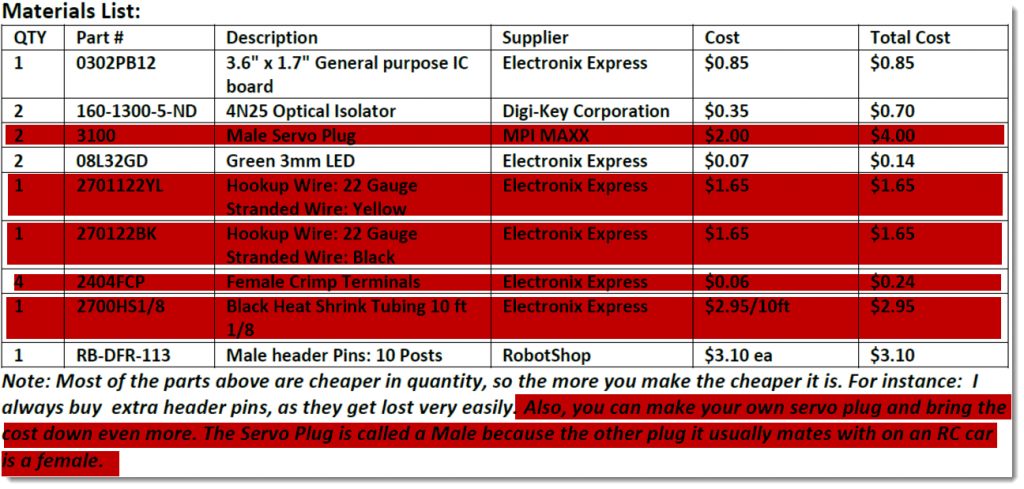
Items above in red are not needed. These were from version 1. This brings the cost down, but requires you to use less costly servo extension wires for the cables.
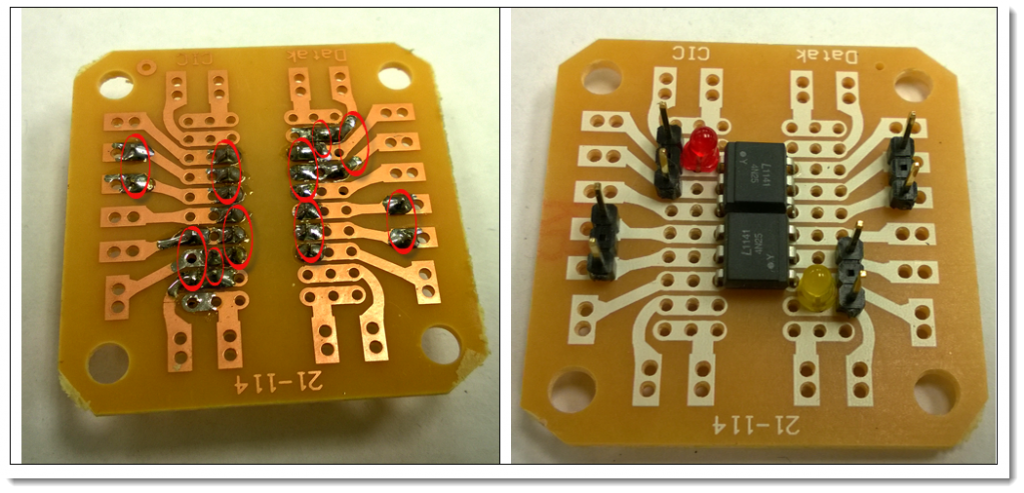
Soldering Diagram (Better one coming soon!)
Procedure:
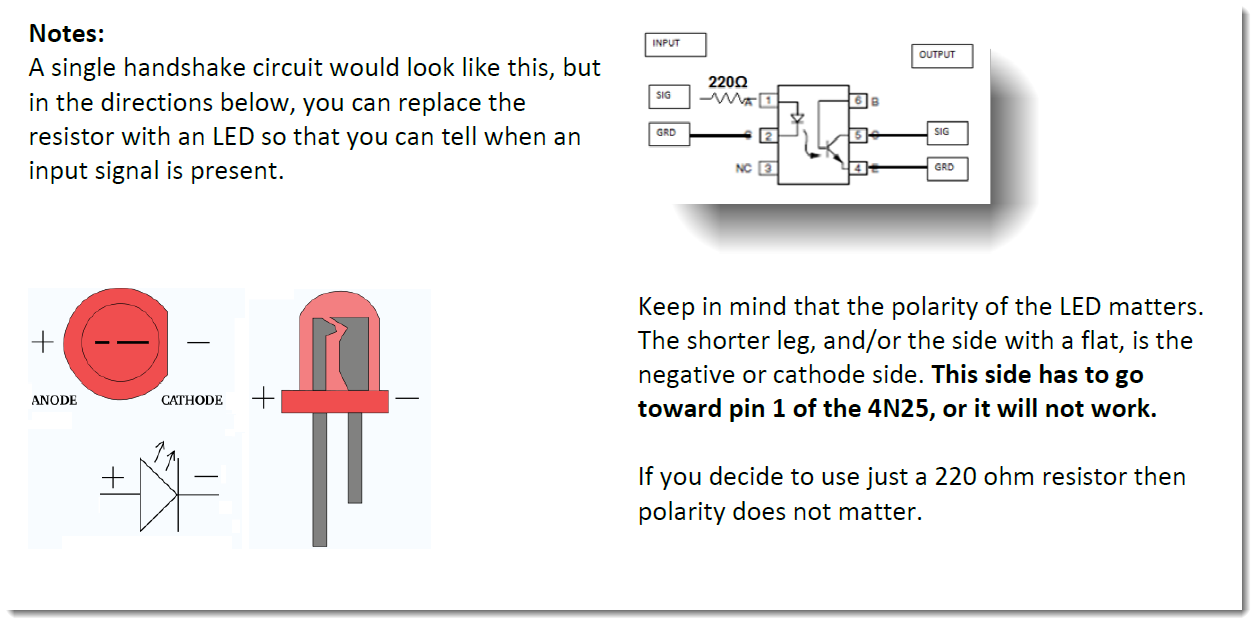
- Solder 4N25 IC’s in place. Use caution and work quickly as they are heat sensitive.
- Solder LED’s and Headers in place (or wires, your choice!)
- Knock the corners of the board off so it fits into the container.
- Snap the board into the container.
- Place the spacers on top of the board.
- Place the cover on carefully.
- Put the 4-40 screws through.
- Put the nuts on the back, tighten carefully.
Tips and Tricks: |
|
| Paint the cover BLACK before you peel it, and the black dots will indicate where the black wires go! The arrows indicate the direction of the communication: Tail of the arrow = the signal “Sender”, head of the arrow = signal “Receiver” | 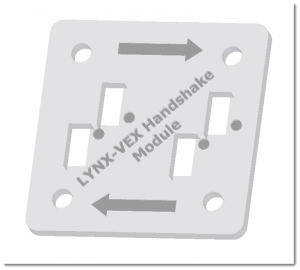 |
 |
 |
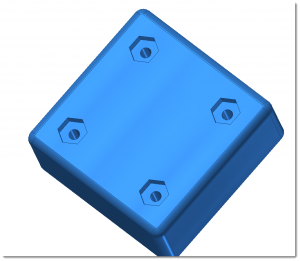
| Container back prints with space for 4-40 nuts. |
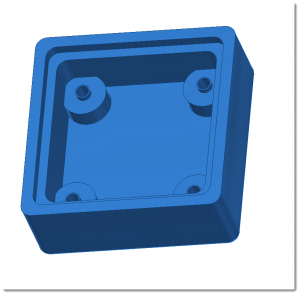
Container front prints so that the board will snap into the built in standoffs. IN ORDER TO FIT, YOU HAVE TO KNOCK THE CORNERS OFF THE BREADBOARD. I used a belt sander.
|
|
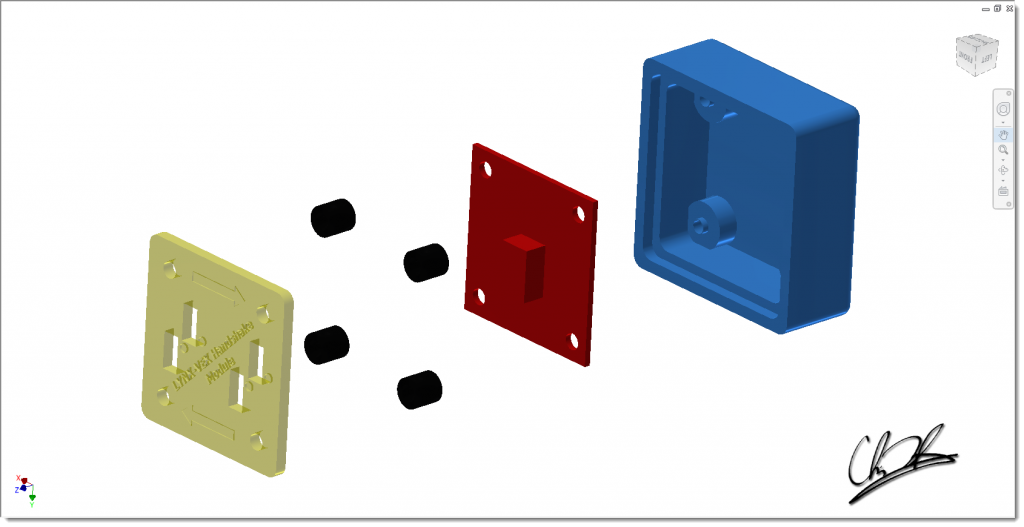
To assemble the parts, see below. Be sure to use the printed spacers to stop the board from wiggling around!
|
|
 |
|
![]()