Front End Loader Project
Prior Knowledge & Skills
With this project students should have the following prerequisite skills:
- Utilize file management skills
- Be able to make basic parts in 3D modeling software
- Read dimensioned drawings with hole and thread notes
- (NOT Necessary if virtual) Be able to safely use tools in the classroom
- Be able to design & use jigs and fixtures
Introduction
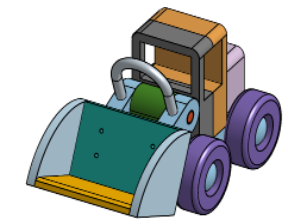
In this project, students will use 3d modeling software to build basic parts and assemble them into a wooden toy model of a front end loader. In the video tutorials for this project, they were done using OnShape, but can be done with other software as well with support and guidance from the teacher. After it is assembled, if the class is not virtual, you may even decide to do a mass production of the bucket loader using jigs and fixtures and tools that you may have in your classroom so that every student gets to take one with them.
The part that makes this a project is Step #5: Design a new vehicle. Take what you have learned, and design another toy vehicle to go along with the front end loader that compliments it and uses some of the same parts.
Step 1: Build the Parts
Download the Front End Loader Working Drawings and make all the parts in 3D modeling software and save them in a folder. Here are some tutorials on reading drawings and hole notes if you need to review. In the tutorials below, the software used is OnShape, but you may be using different software. Check with your instructor! The videos below are provided in case you get stuck building some of the more challenging parts. FEL just stands for Front End Loader! Be sure to hand in the parts for evaluation by your instructor. teachers: download the e-Hand-in document.
Step 2: Assembly File
This is where you find out if all of your parts fit together correctly! If not, just edit them as you go. You’ll do this by creating an Assembly of all the parts. The video below takes you through doing it with OnShape. Be sure to Import the Lift Bar first! Be sure to submit your assembly for approval/evaluation by your instructor.
Step 3: Working Drawings
Using your 3D modeling software of choice, make working drawings of all the necessary parts so that they can be manufactured. You may want to split up into groups, and share the work for this step. Be sure to submit your drawings for approval/evaluation by your instructor.
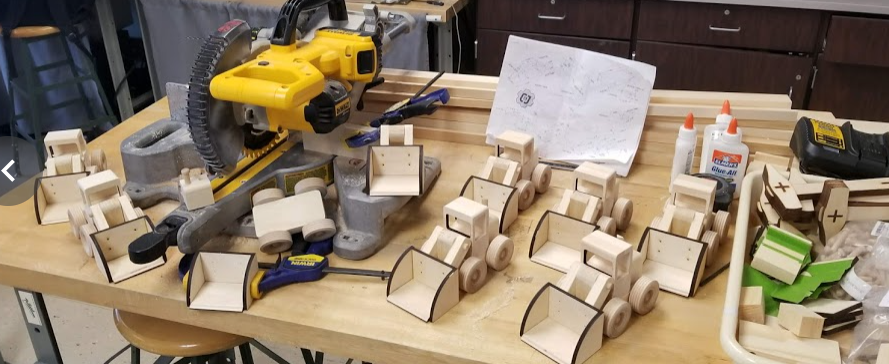
Step 4: Build the Loader: Mass Production
ONLY IF NOT VIRTUAL! So if you are lucky enough to still be in school as you do this, and there isn’t a global pandemic or something, talk to your instructor about using jigs and fixtures to do a mass production of the Front End Loader. Be sure to submit some pictures for our blog if you do this step!
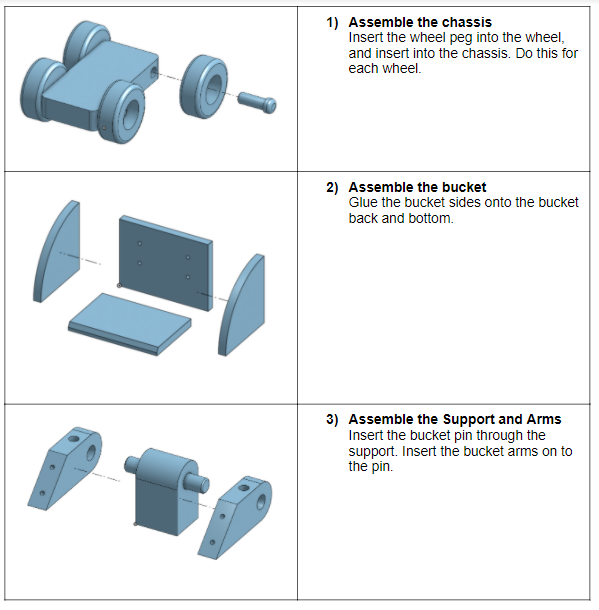
Step 5: Exploded Views: Assembly Instructions
What better way to teach exploded views than to have students design a set of assembly instructions for the front end loader as if it came as a kit of wooden parts? Download the FEL Assembly Instructions Template and have the kids give it a try.
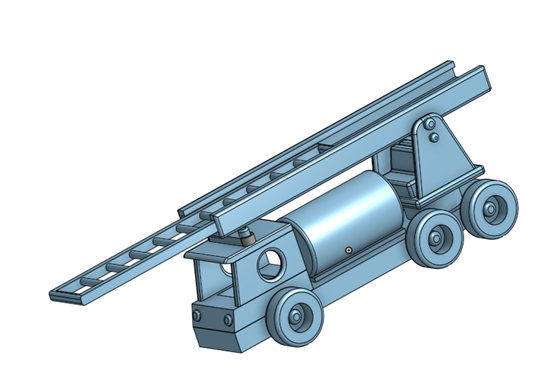
Step 5: Design a New Vehicle
Kids really loved this part where they do a search on the internet for wooden toys, then design their own using constraints that you have given them. This is the “Project” part. They loved the free choice and came up with some great ideas!
You can make up your own constraints, but here are the ones we used:

Download the Wooden Toy Research document which has the above rules in it, and gives the students a place to document their research in coming up with ideas from the internet. After choosing their best idea they can move forward with building it in Onshape.
You can then use the Wooden Toy e-Hand in document to grade them with.
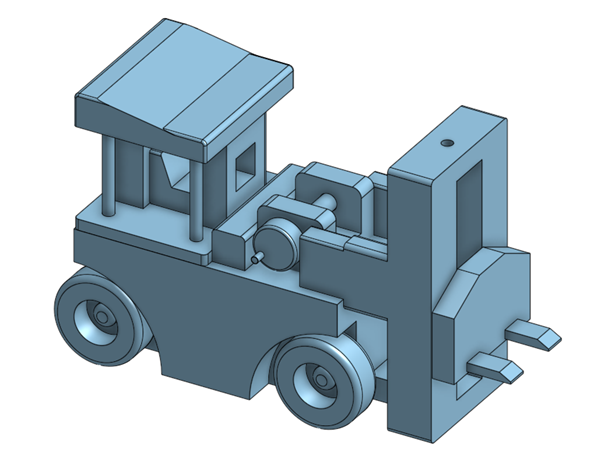
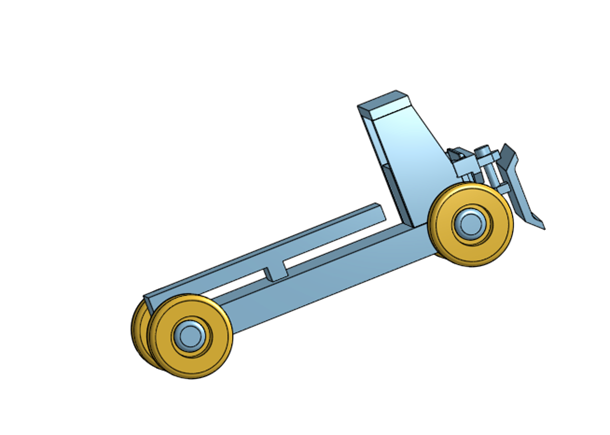
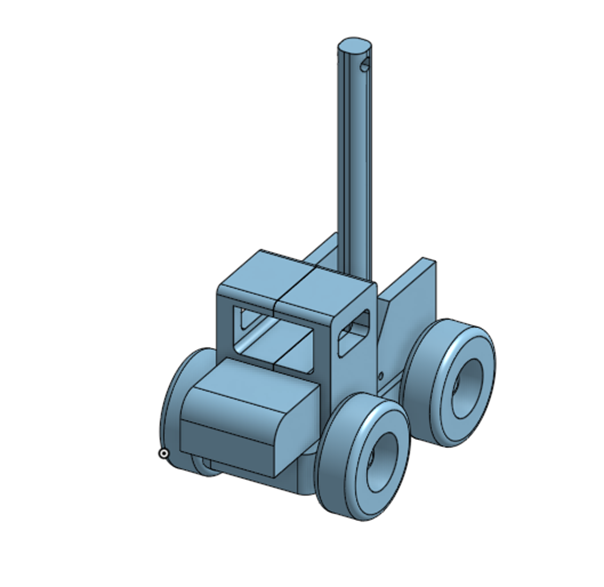
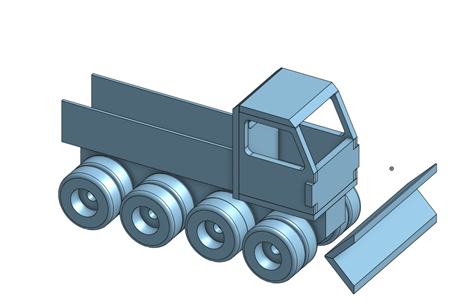
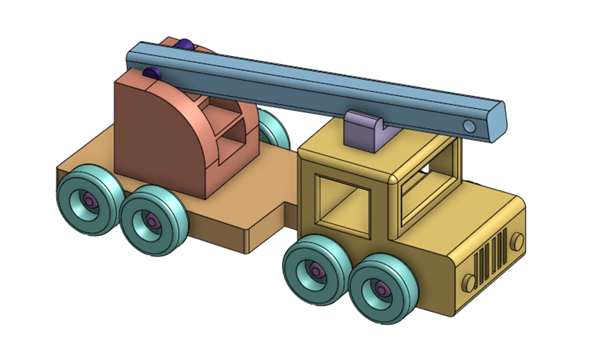
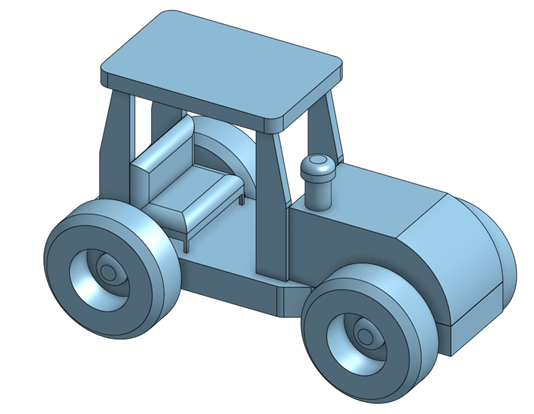
Here are some examples of student work from this year. Some are virtual students and some are in-person.


![]()