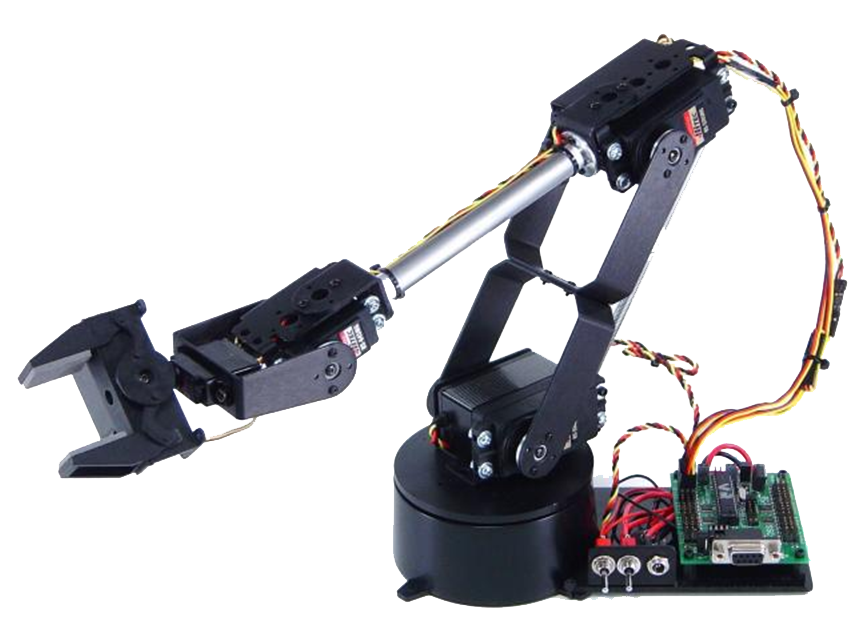
What are friction plates and why are they important to my Lynxmotion Robot? The directions are unclear on how to install them. This post is ARCHIVED, meaning links may or may not work, and it may not scale well on a mobile device as it was written a while ago.
Want to upgrade them? See the video below, or the HD version HERE.
Answer:
The friction plates being installed correctly is critical to the life of the servos of your Lynx arm. If they are too loose, or the nylon locking nut is not installed on it, it will cuaes the servos to work more, and burn out sooner. Also, If the nut is tightened too much, it could make the servos burn out as well. If you put your hand on hte servo, and it is so hot you cannot keep your hand on it, check the friction palte adjustment.
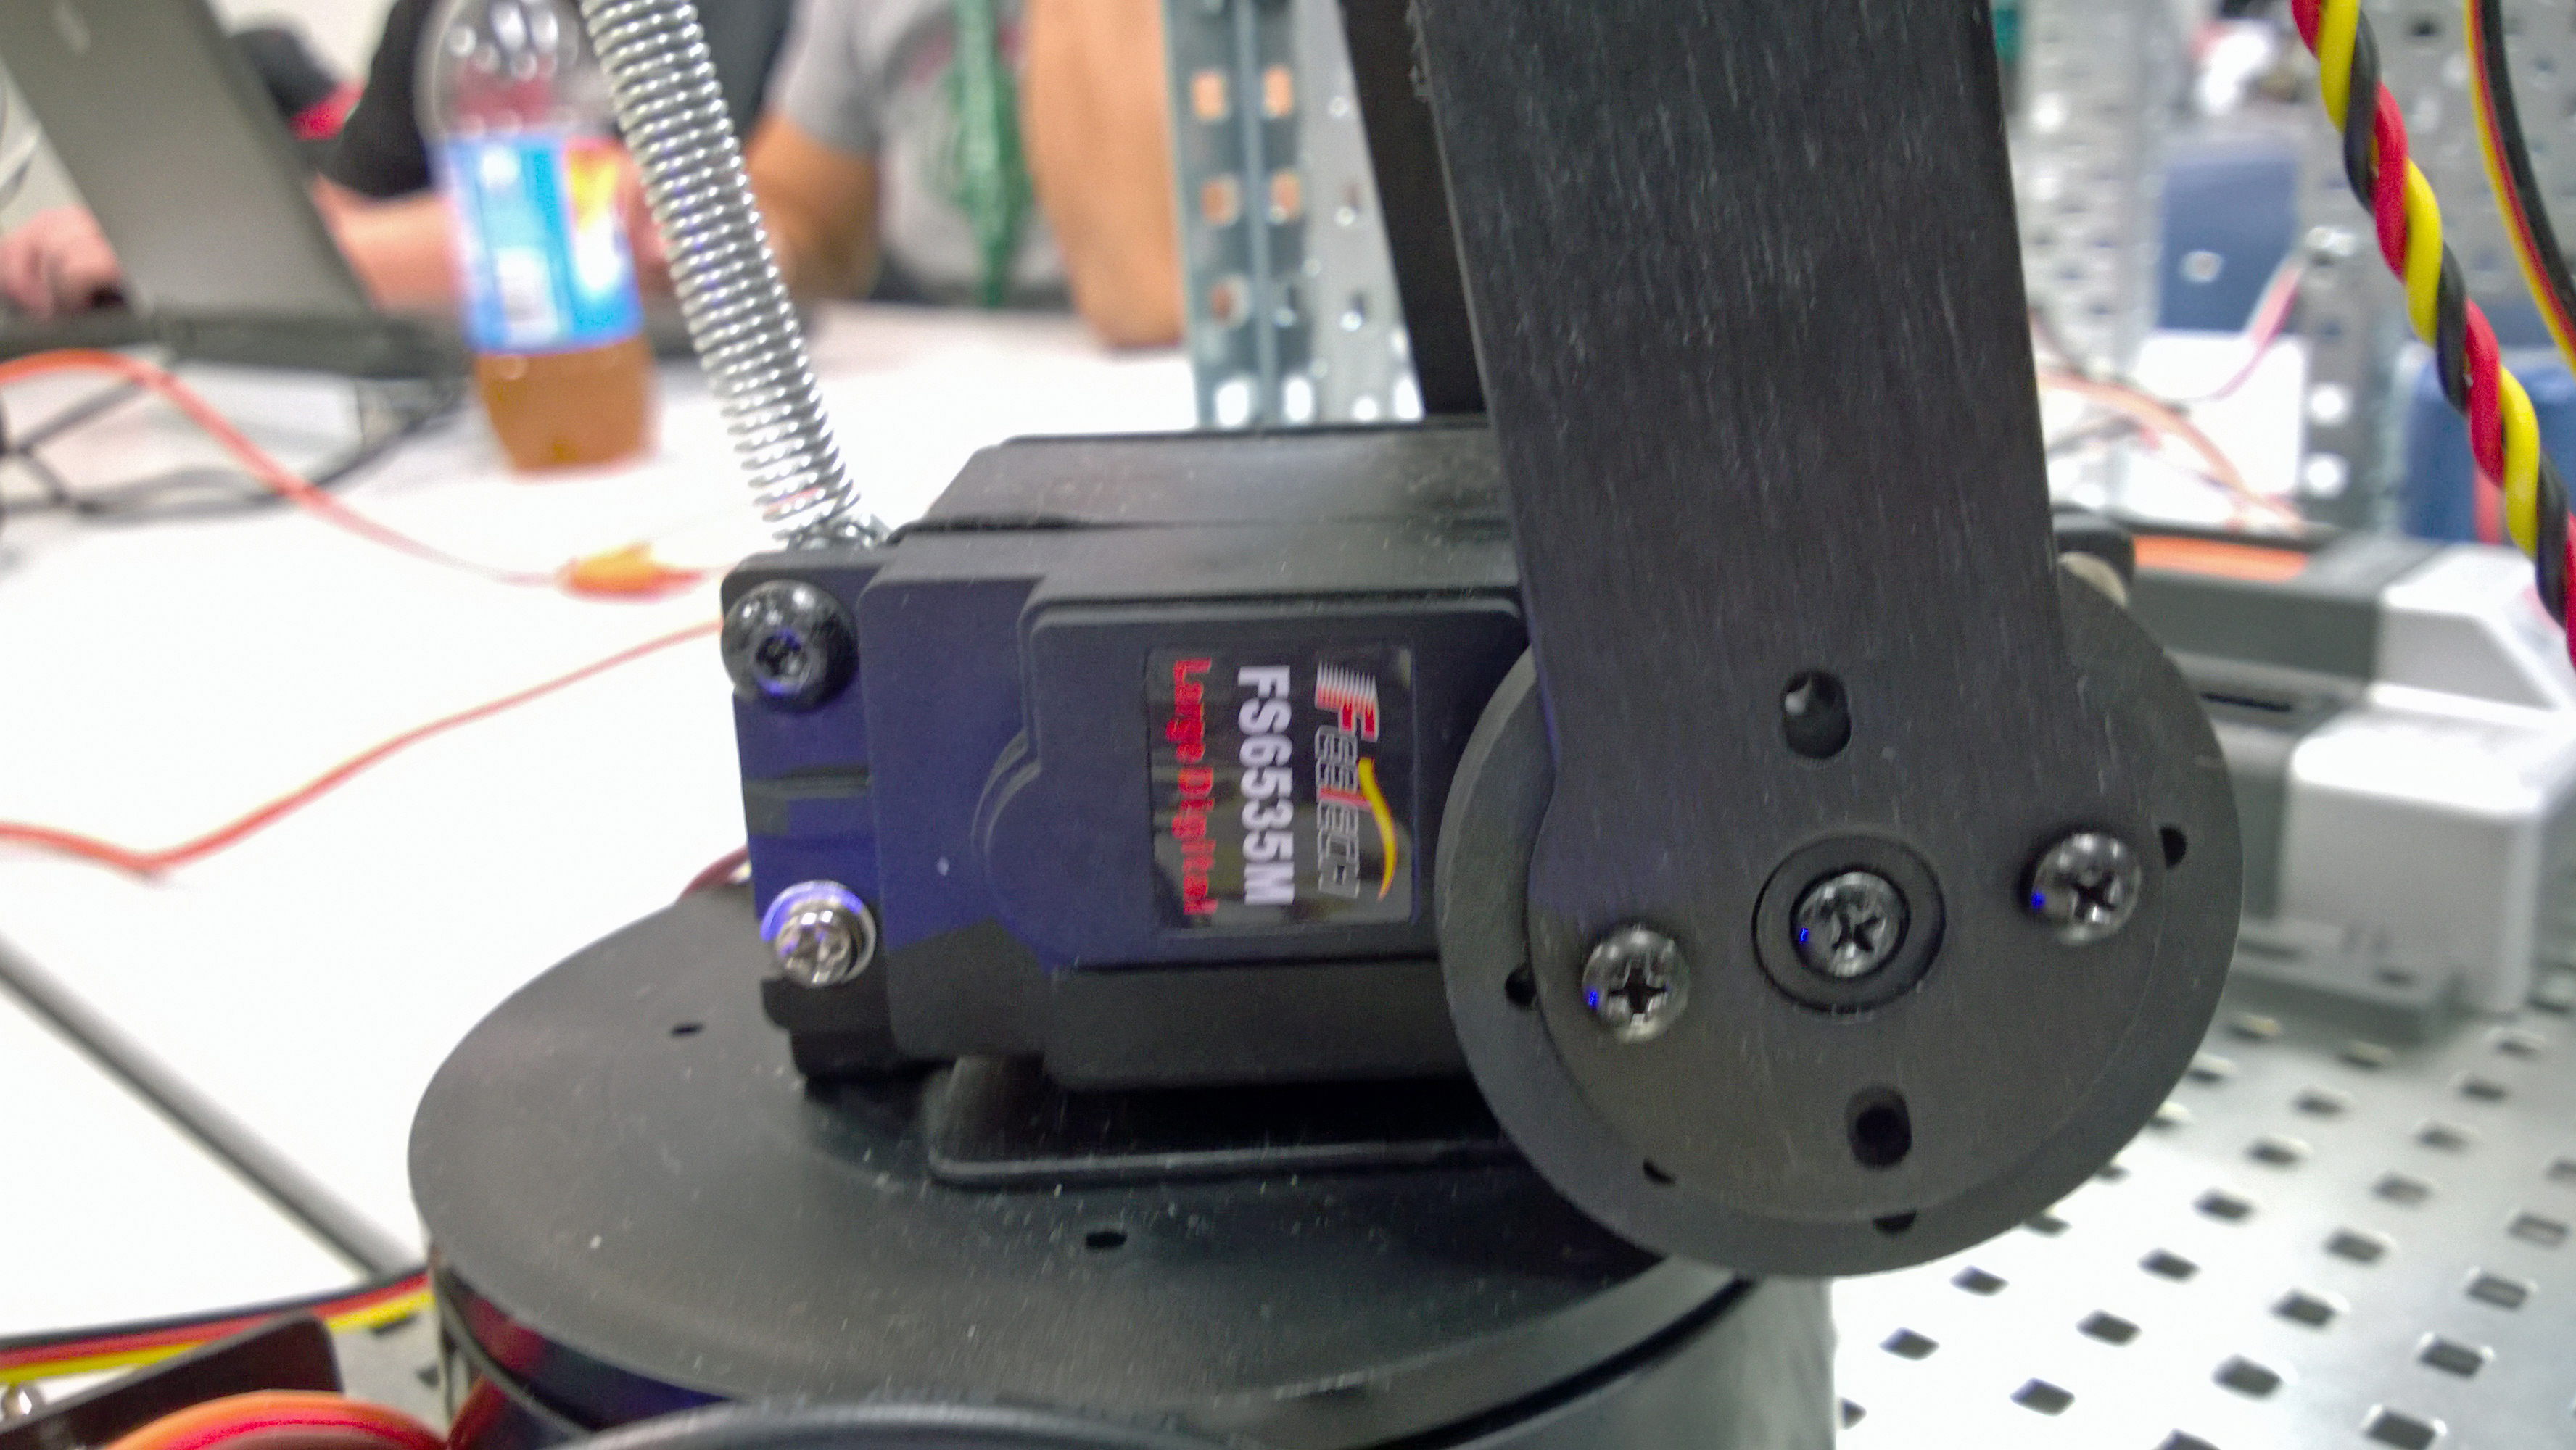
The Lexan friction plates are on the shoulder and elbow joints and have an outside diameter of about 0.95″. They are made of lexan, because acrylic will crack when screwed into. I have just ordered another arm, and if it gets here next week, I will have a student make an inventor file with the hole diameters, as I cannot take mine apart now; the kids are using them. See diagram below.
Step 2 of the assembly guide for the Lynx Robots. located HERE states:
Step 2.
Install the mechanical dampening panels as shown. Use four #2 tapping screws.

If you put the C bracket over the edge of a table, it will be easier to screw them together, as it may take some force to get the screws started. It will look like this when done:

Step 11 reads:
Slide the screw on the forearm assembly through the dampening discs as shown, and secure with a nylon insert lock nut. The amount of friction can be adjusted by tightening or loosening the lock nut. Start with the nut loose, and if the arm seems to wobble a bit, you can tighten this joint to correct the wobble. Caution – don’t over-tighten this! If the arm is operated with the mechanical dampeners too tight, the servo WILL heat up and CAN be damaged! See the diagram below; it is indicated with a yellow arrow.

