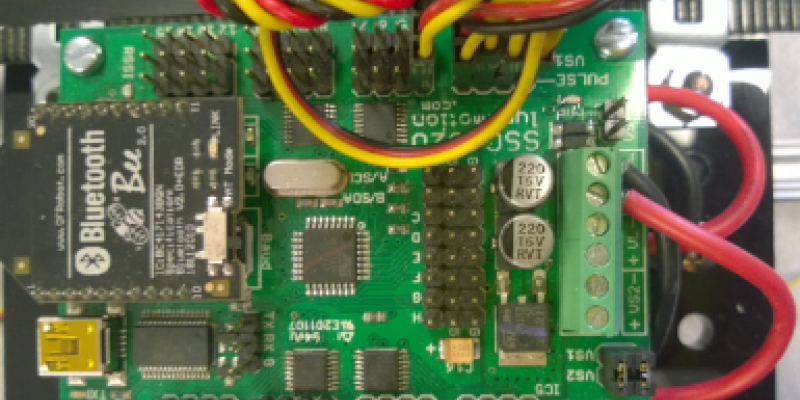
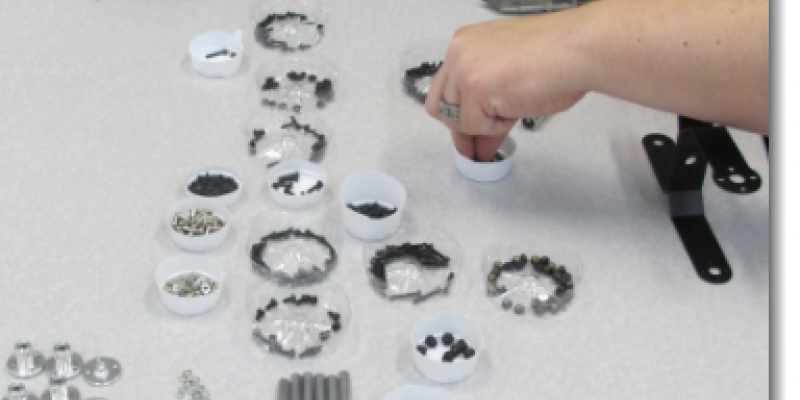
So you have new Lynxmotion robots for your classroom, so now you have to build and wire them. I’ve put together 4 videos to help you assemble and wire them. This is not meant to replace the manual, but rather to supplement it. You can find the manual here: PLTW-AL5D-Guide-11. Lots of new stuff in the manual too, especially about how servos work.
How do you center the servos when you build your lynxmotion AL5D?
Answer:
Best way is to NOT turn the servos; like that’ll happen! There is a whole section in the new manual that can help you teach how servos work, so check the manual too! You can find it here: PLTW-AL5D-Guide-11. One way is to do it with a special tool called a servo driver. You can buy these on line, or at your local hobby shop. RobotShop used to carry it, but I do not see it there any more. See the video below on how to use one.
How do you wire the AL5D Lynxmotion robot arm for power?
Answer:
You really have to make sure that you do this right, or you will damage the SSC-32U and/or the power supply, and it will not work. So, start by reading the manual; you can find it Here: PLTW-AL5D-Guide-11. Also, see the video below.
I heard building the AL5D was really hard. Do you have any tips or tricks for building it?
Answer:
Of course we have tips and tricks! Best one yet? Read the new manual; you can find it Here: PLTW-AL5D-Guide-11. They just spent a lot of time rewriting the manual, and added a lot of our suggestions to it, so please start there. Next just watch the video below!
The guide for building the Lynxmotion AL5D robot is not easy to follow. Do you have any suggestions for building the robot?
Answer:
Of course we do! #1: Robotshop & Lynxmotion put out a brand new guide that can be found HERE. The new guide is very easy to follow with great step by step directions as well as great instructions and diagrams. They even added a whole bunch of information on servos and how they work. Please download this immediately!
I also made a short video on “Tips & Tricks” for building it. Watch it below.
I have a lynxmotion robot, and I want to make it talk to a machine connected to a VEX Cortex using inputs and outputs. How do I do this?
Answer:
This is called handshaking, and you will need at least one computer, Flowarm and RobotC Software, a Lynx arm with SSC32 controller, and a VEX cortex to do this.
Below is a worksheet that you can download with all of the basics, and there will be a video below shortly as well.
The new CIM (Computer Integrated Manufacturing) teachers at CalPoly Pomona’s CTI successfully completed another “Factory Smackdown”. See the videos below!
Concierge Factory:
In our factory cell an AGV stops at each of four stations, where a signal is sent to a robotic arm. The arm picks up a product, places it into the package, then sends a signal to the AGV to rotate the pack and move to the next station. Once the package is full, the AGV offloads it onto the shipping dock.
Fruit Sorter:
By using VEX and Lynxmotion we created a fruit sorting factory. The Lynxmotion robots grabbed the fruit from the funnel line, placed the fruit at the color sensor(aka line sensor) then placed the fruit into the correct bin. The AGV then took the fruit away, and the system started all over again.
Special Thanks to~ Our Master Teachers Chris Hurd and Moises Gonzalez and our group members: Khris Kading, Martin Velasio, Donnie Whitworth, Rich Mayfield, Candy Drabek, and Gary Potter.
Toxic Waste
Cal Poly Pomona CIM Core Training, 2016. Team Toxic Hurd takes on the challenge of packaging, containing, sealing and transporting toxic waste, practice golf balls. This factory cell uses two Lynx Robotic Arms and two VEX Cortex. The Lynx arms and the Cortex communicated with each other to signal the ‘handshake’ required to keep all the operations ruining on time. The Lynx arms are controlled with Flowarm, and the Cortex was programmed with RobotC.
My new Lynxmotion AL5D robot arm from RobotShop came with a new servo called a Feetech. How come my arm works backwards now?
Answer:
Well…. because the servo may be installed backwards. I know, you looked at the picture on the directions, but the first one may be wrong. When they switched servos, from the HiTecHS-805BB to the FeeTech FS6535M, there was one little hitch…. the Feetech runs OPPOSITE the Hitec. Because of this, the shoulder servo needs to be installed backwards. Once you get the directions, ignore the first picture and follow the directions. They can be found HERE. Want to buy a robot? Buy one HERE.