HOW DO I BUILD THE LYNXMOTION AL5D ARM?

Question:
The directions on line for building the Lynxmotion arms are not very good. Do you have any tips or tricks to give about building them? Also, aren’t they just cheap toys that won’t last that long?
Solution:
First off, let me start by saying I have built or repaired (mostly repaired) over 120 of these arms.The only repairs I have had to make to them were because they were built incorrectly, or they were abused by students. If you build them correctly, and you follow the activities in the curriculum, they will last a very long time even though they are just built from hobby servos. I have 10 arms in my classroom, and I have only ever had to replace 3 servos in the last 4 years. With that being said, see the video below that we did in conjunction with RobotShop. RobotShop is the new owner of Lynxmotion. Be sure to scroll down after the video to get some more tips and tricks as well!
TIPS AND TRICKS:
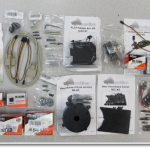 |
This is what comes in the bag. Notice that all of the fasteners including hex head bolts and shoulder screws are vacuum packed into separate bags, and also note that the bag is essentially full of other bags. This picture was taken after everything was “De-Bag-ified”. |
| We strongly suggest that you take everything out of the bags and sort them as we did here. What you see are the parts for three robots, three Heavy Duty Bases, and three Medium Weight Wrist Rotates as well. |  |
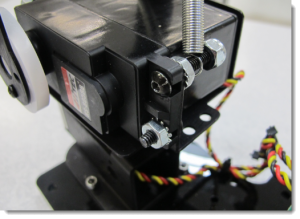 |
We replaced the shoulder and elbow servo bolts withVEX hardware to make the fit betetr and it should increase the accuracy of the arms as well. Notice how we used a longer screw and used a Nylock nut to hold the springs in place. This was done on the elbow servo as well. |
| Here’s what the spring install looked like with the VEX screws. Notice that it is not sticking out the side of the robot, and there is room for the spring to travel as the robot moves, and no way for it to slip off. | 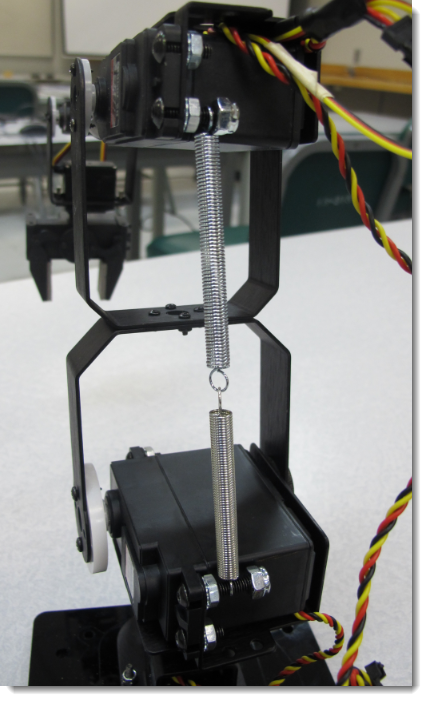 |
 |
This build included some upgrades including a heavy duty base. For more info on these upgrades, and some others that may be helpful go to Chris’ Blog to see what was done, and how to do it! |
1,894 total views, 3 views today